
How to connect your custom domain
This tutorial explains how to brand your ElasticWebinar links. This way your attendees will see your domain name instead of ElasticWebinar on all attendee-facing pages.
For hosting DNS records and SSL certificates, we will use Cloudflare. Cloudflare is a reliable service and can be used for free.
We recommend buying a new domain (e.g. my-company-webinars.com) at first. This way, if something goes wrong, your main website won’t be affected.
You can use GoDaddy.com to purchase your domain.
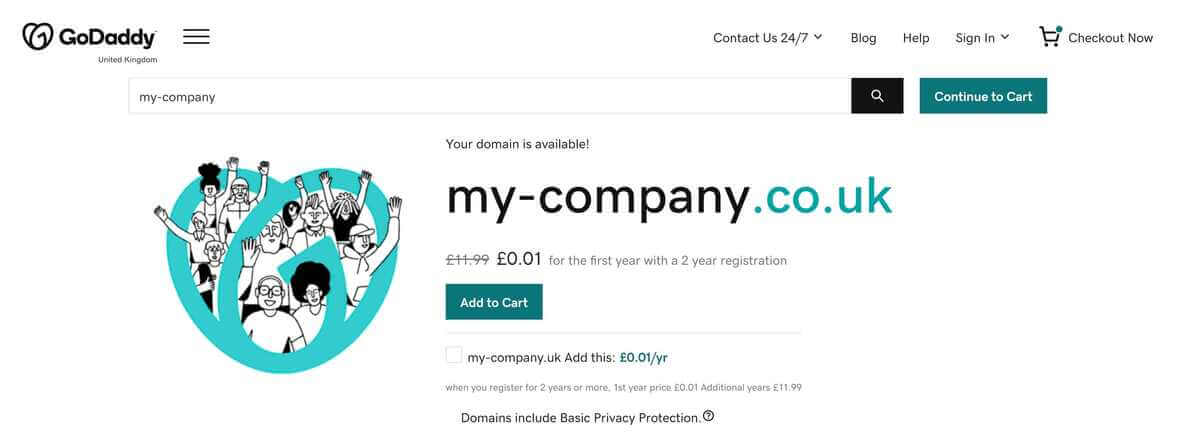
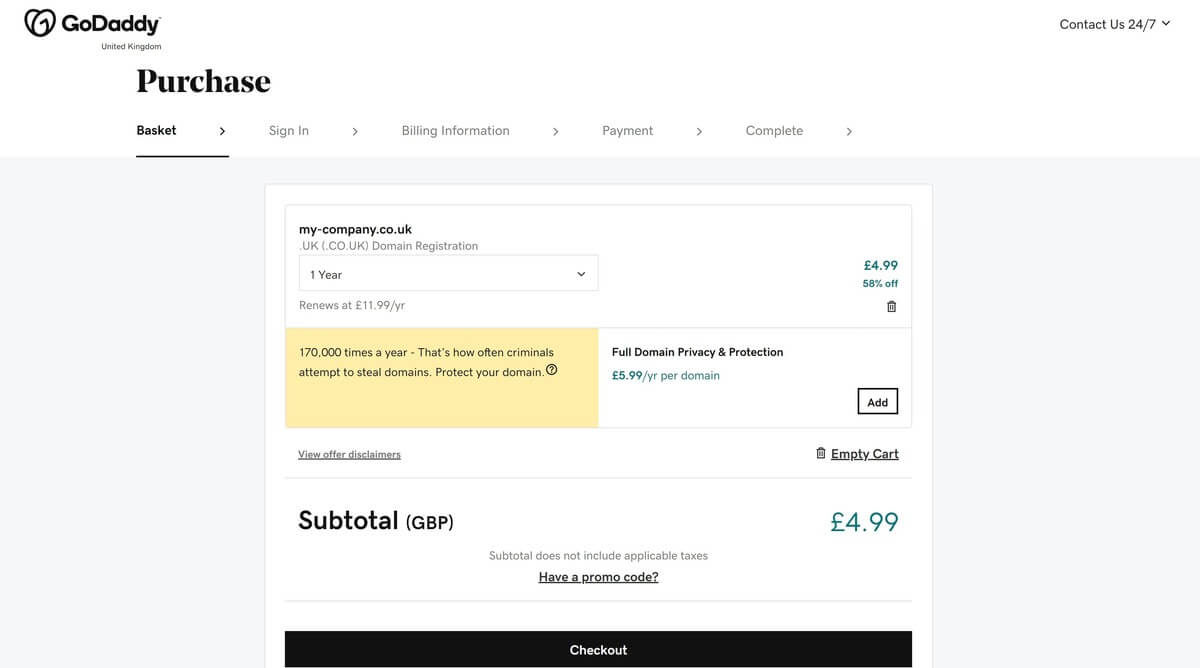
You do not need to purchase any certificates or protection for your domain in case you use Cloudflare. For example, we can use a cheap domain such as my-company.co.uk.
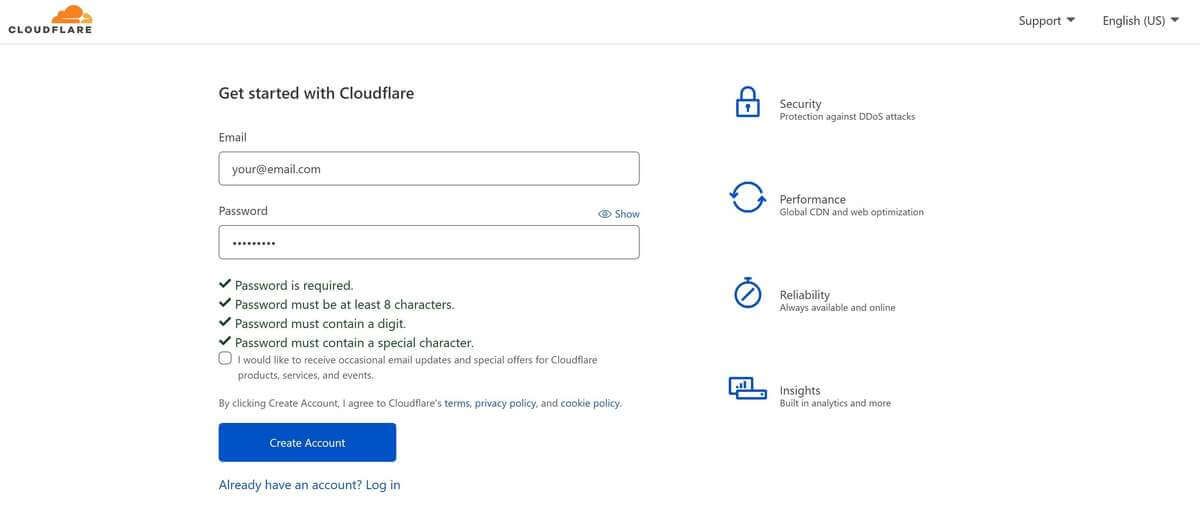
Open cloudflare.com and create a free account.
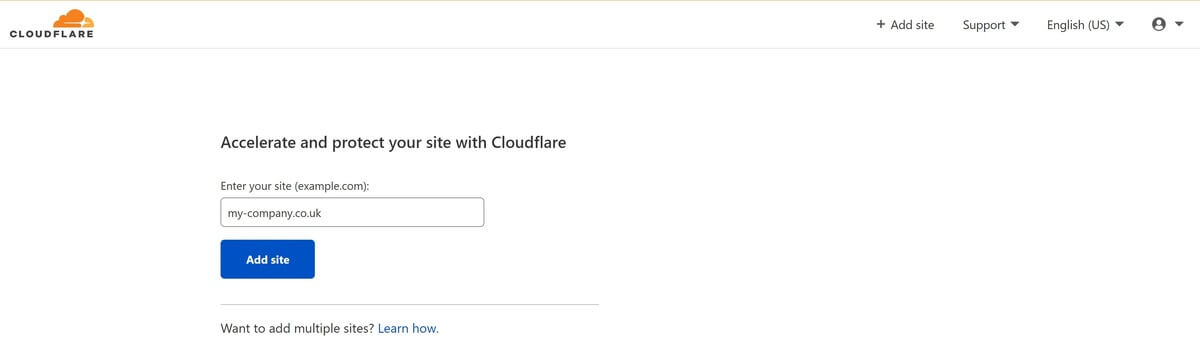
After registration, add your previously purchased domain name.
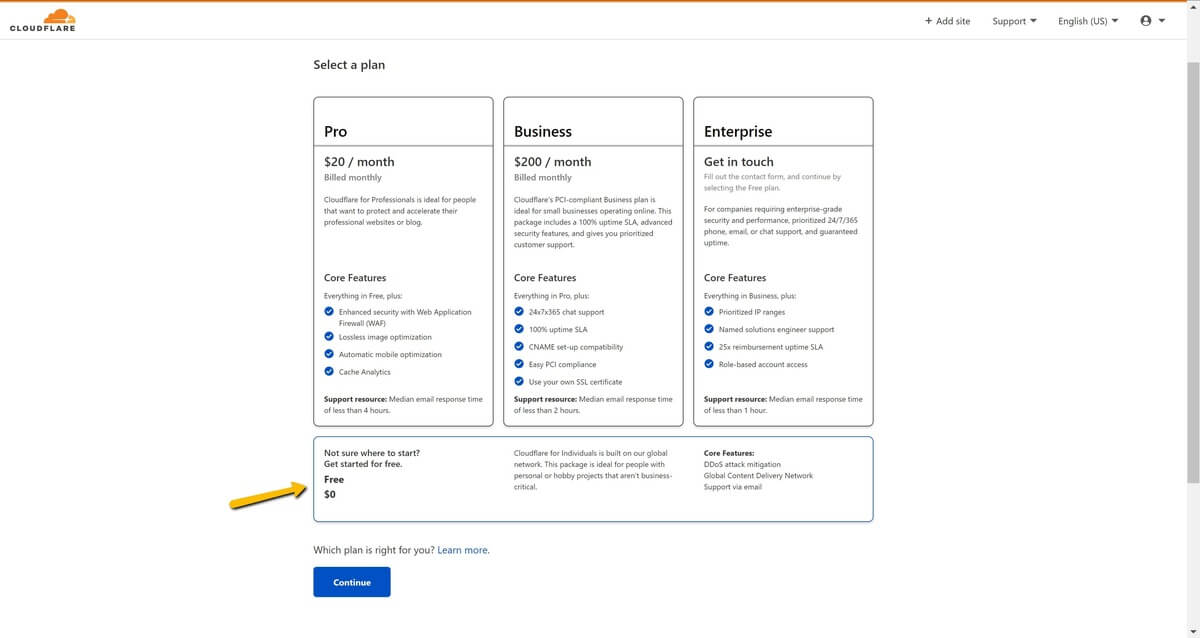
Select Free plan and click Continue.
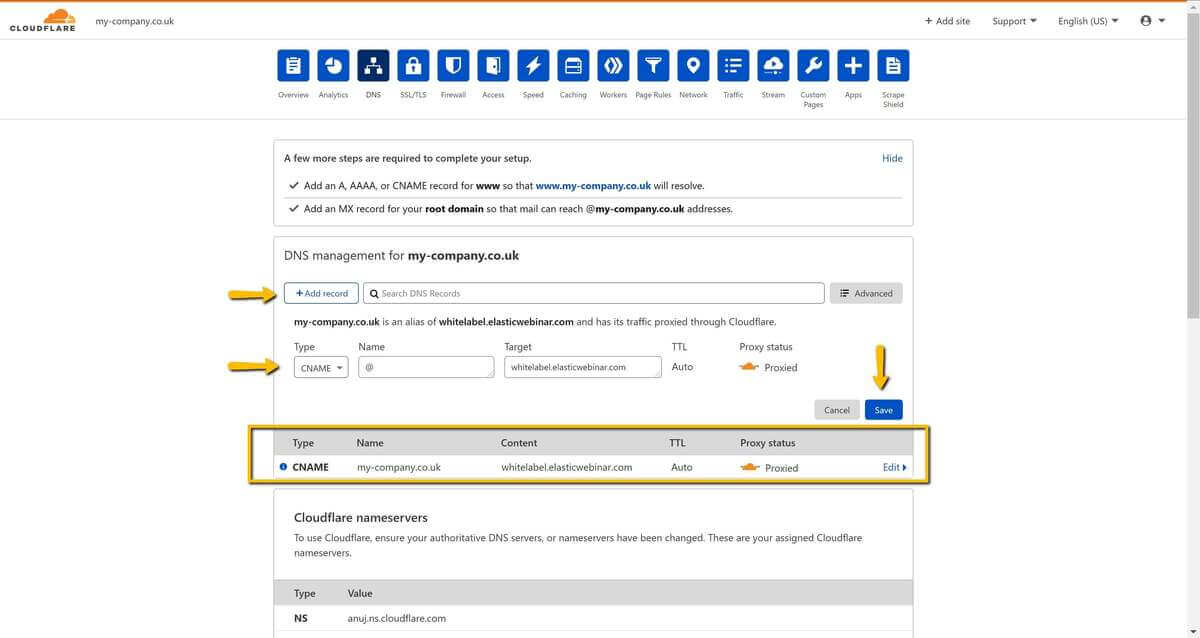
Now, we will set up DNS records. Add a new CNAME record with these settings:
- Type: CNAME
- Name:
- Type in @ if you want to use root level domain (e.g. my-company.co.uk)
- Type in a subdomain if you want to use a custom subdomain (e.g. subdomain.my-company.co.uk). A subdomain can be any word. For example webinars.
- Target: whitelabel.elasticwebinar.com
- TTL: Auto
- Proxy status: Proxied
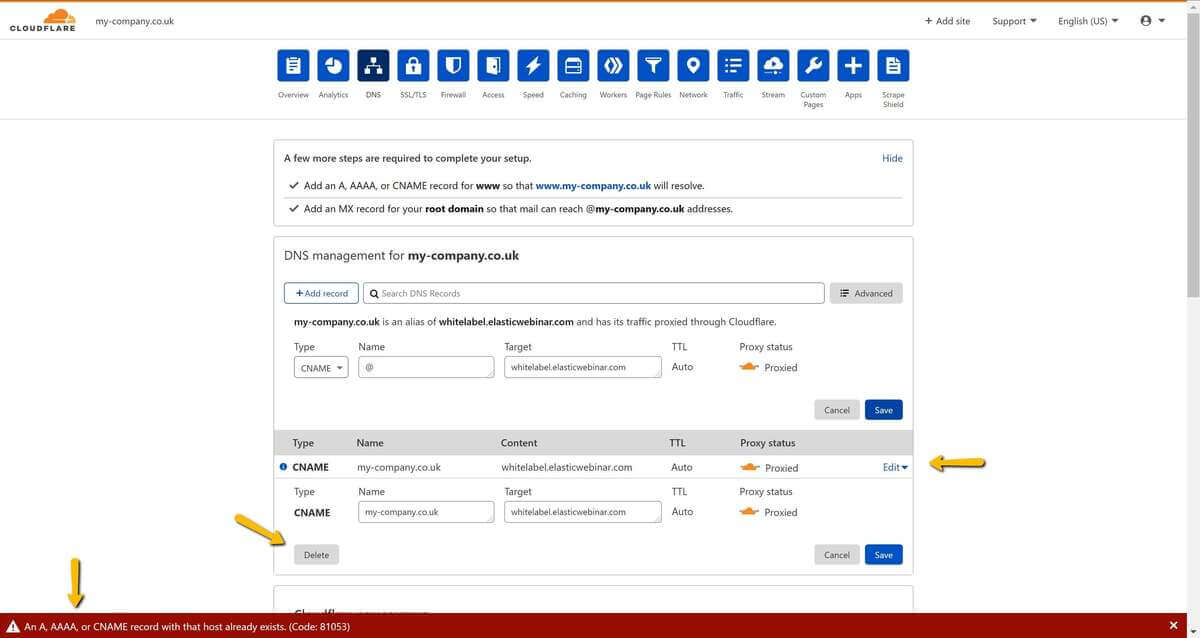
After clicking on the Save button, you may see a validation error. If you used Name: @, you must delete all records specified in the error message. If you used a subdomain e.g webinars.my-company.co.uk there should be no errors.
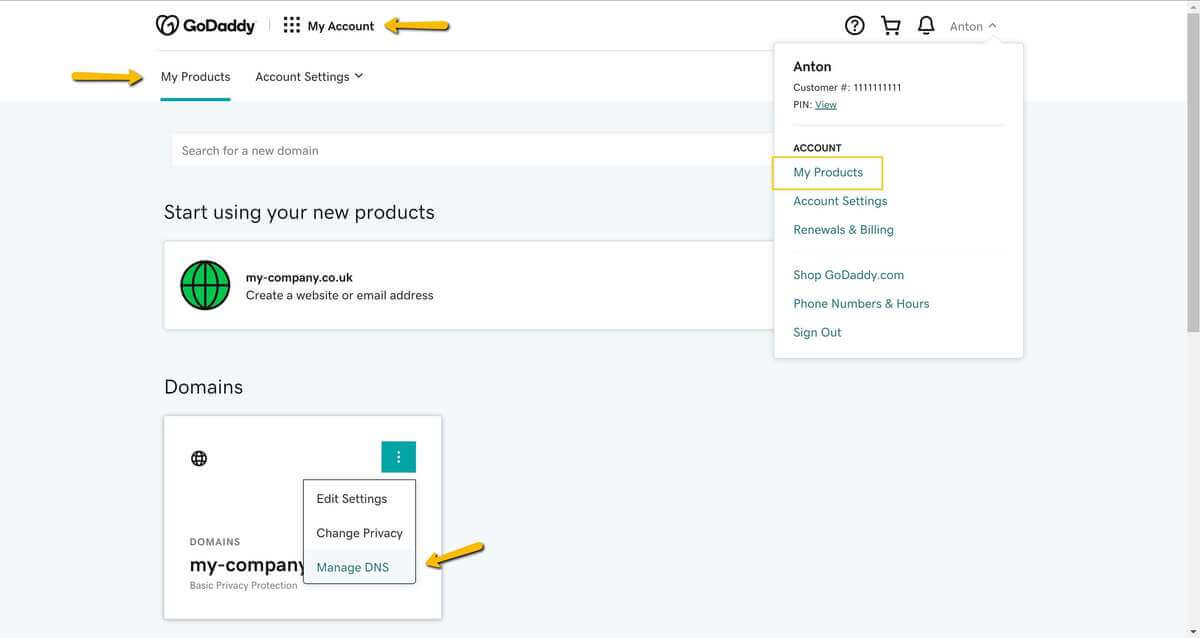
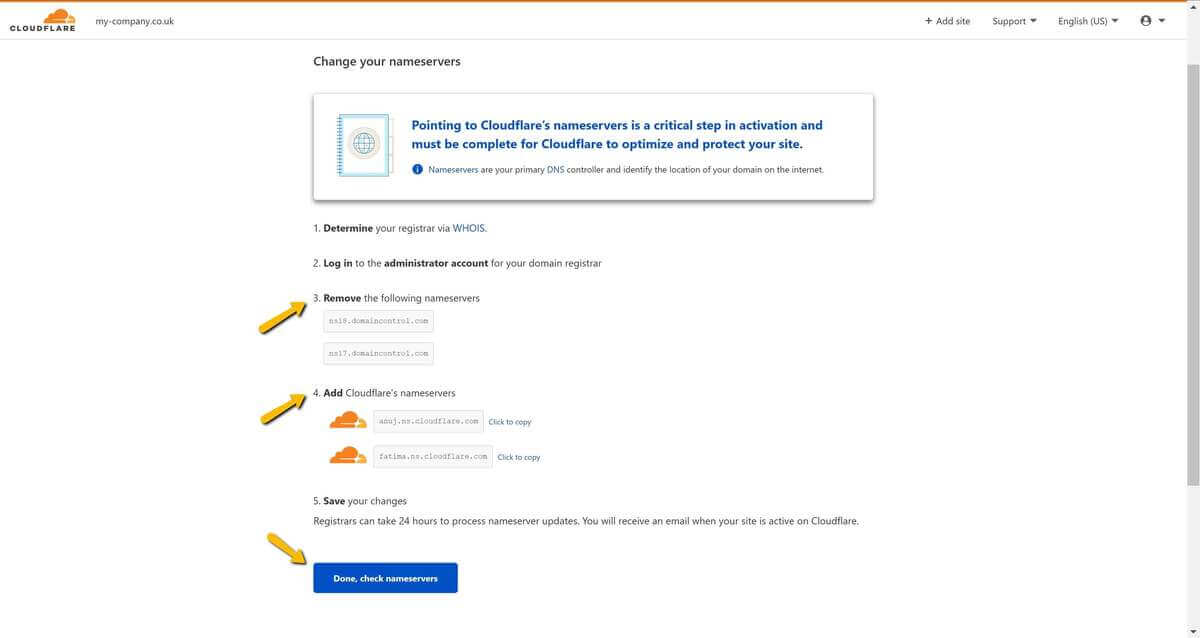
The next step is to set up DNS records on your domain provider. In our case it is GoDaddy. Check steps 3 and 4 in the screenshot below and after you do changes on GoDaddy come back to the Cloudflare and click on the button Done, check nameservers. Open the GoDaddy website on a different tab.

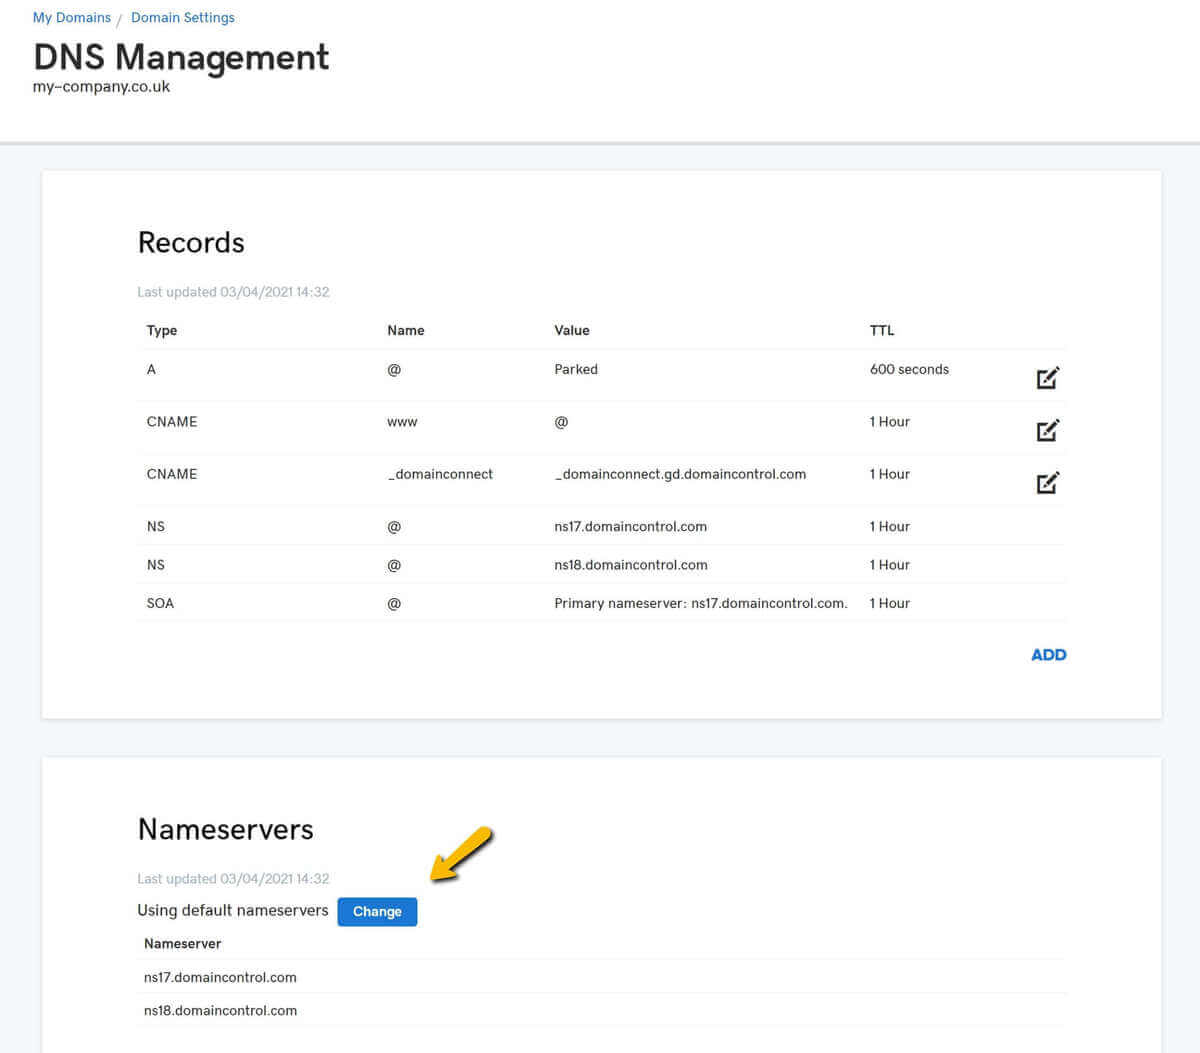
On GoDaddy, open DNS management for your domain.
You have to change nameservers, but be careful! Make this change only in case of a new domain where you have no other content such as a personal or company website. If you are using your existing domain, we recommend talking to your website administrator who will migrate all the DNS records to Cloudflare and make sure your website won't experience downtime.
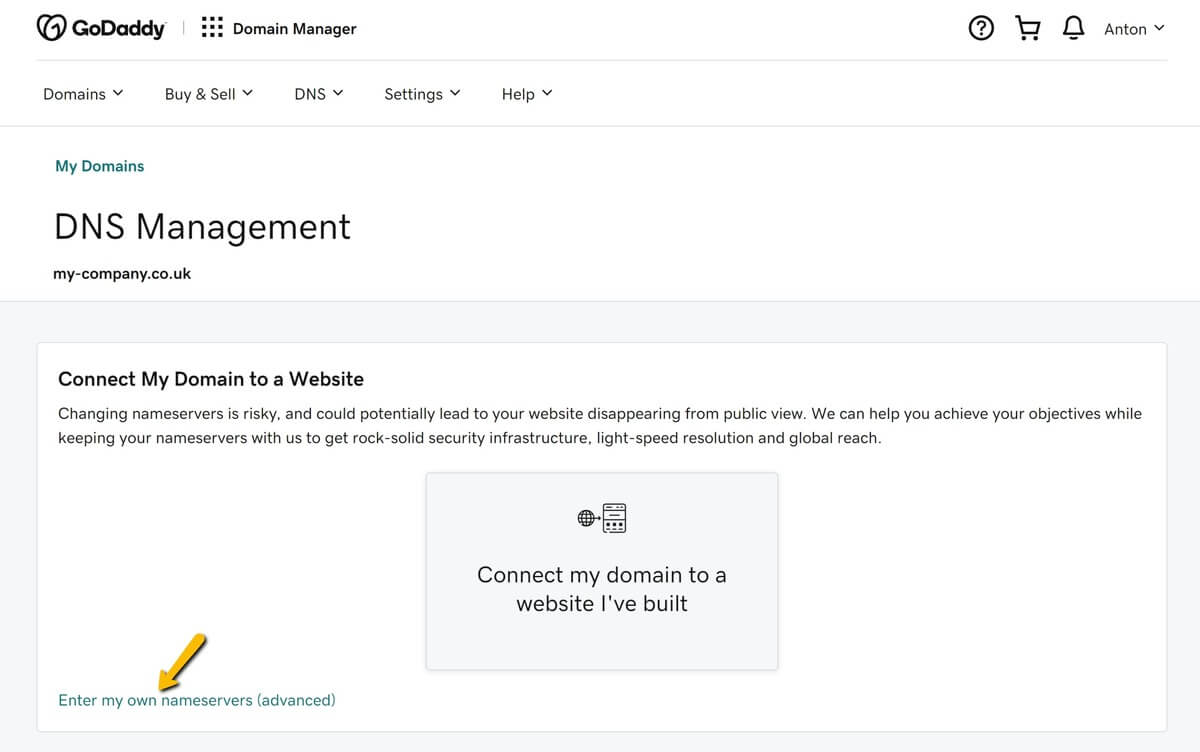
There might be a few warnings that after these changes Cloudflare will host the DNS records instead of GoDaddy. Click the Change button to enter The Cloudflare nameservers.
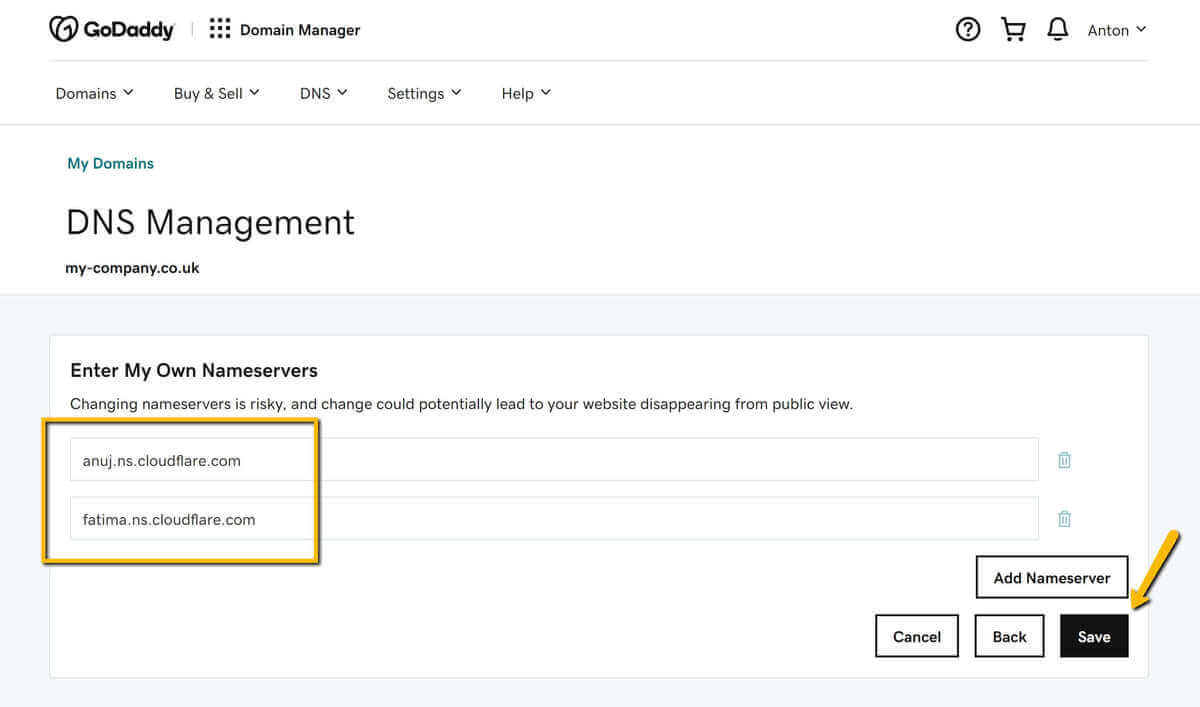
Enter the NS records from Cloudflare and confirm them by clicking the Save button.
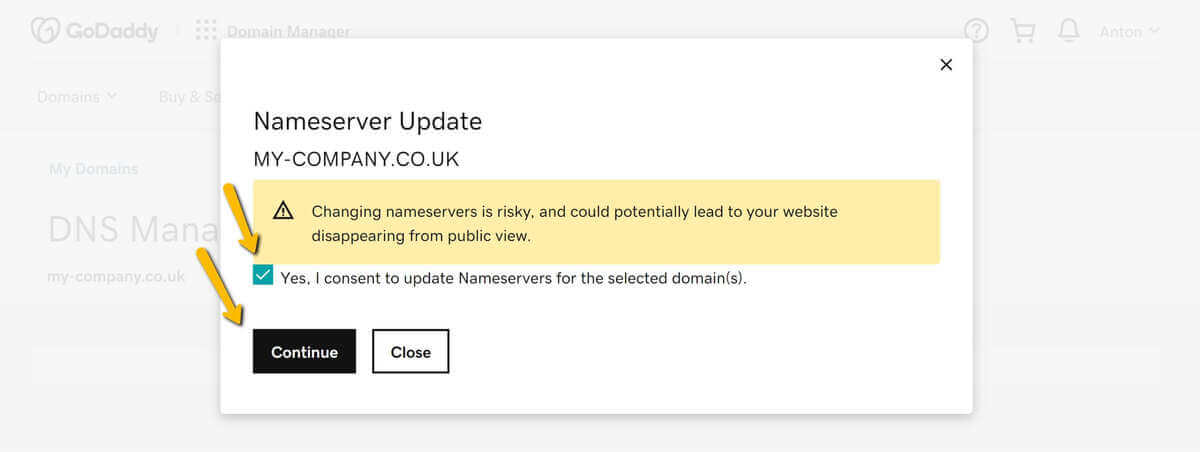
Click Save once more. This should display a pop-up window. You have to check the confirmation checkbox and then click on the Continue button.
It can take several minutes to apply these changes. Sometimes even a few hours. It depends on the provider.
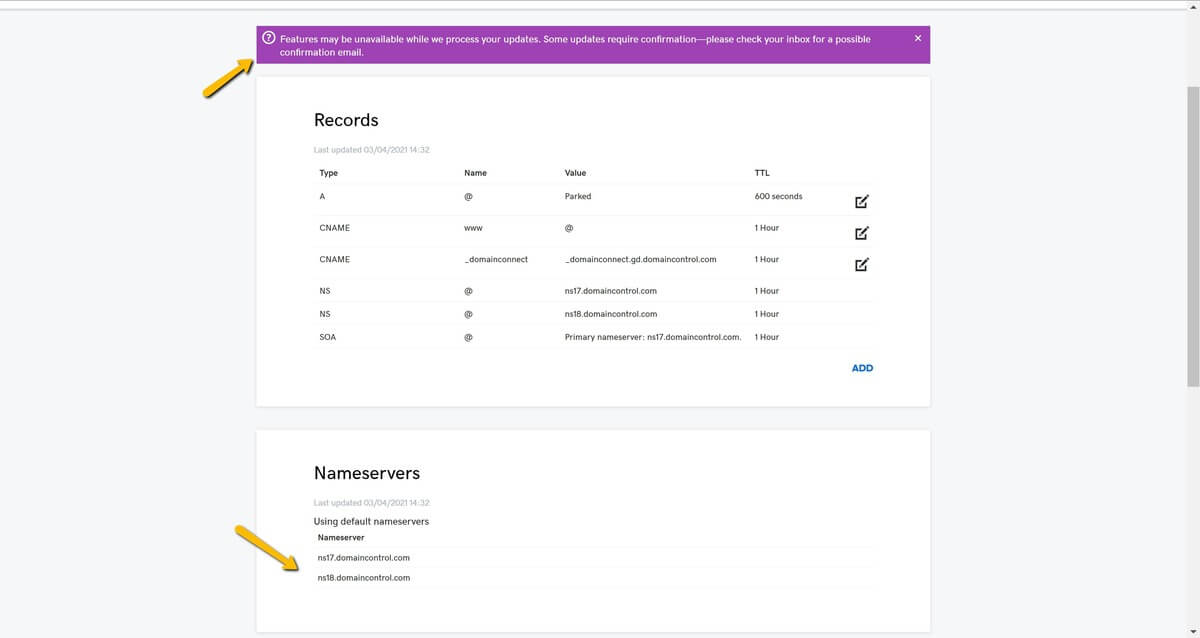
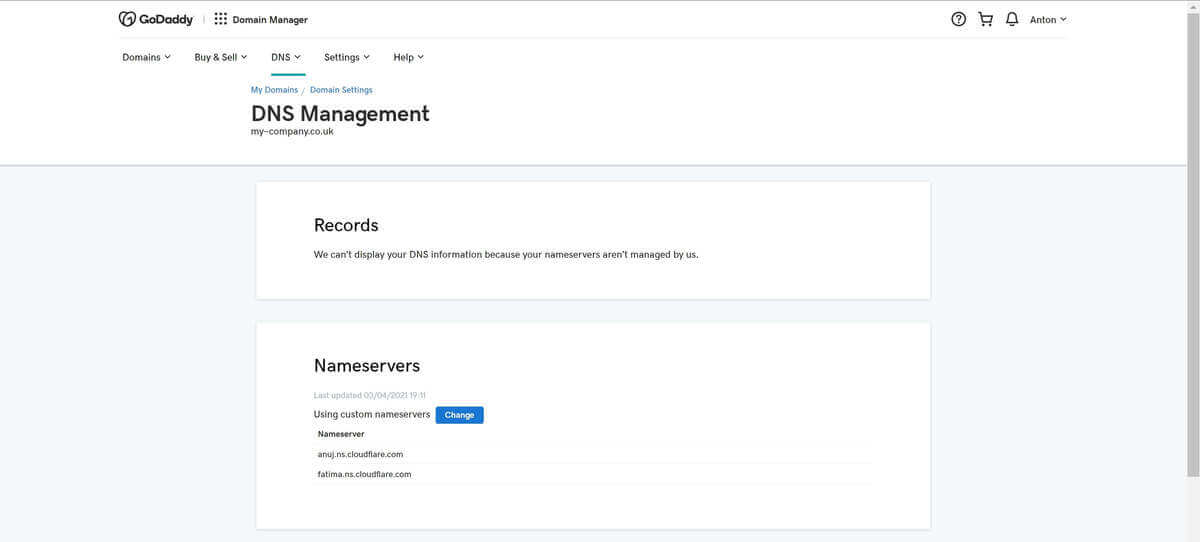
After the changes, GoDaddy will look like this:
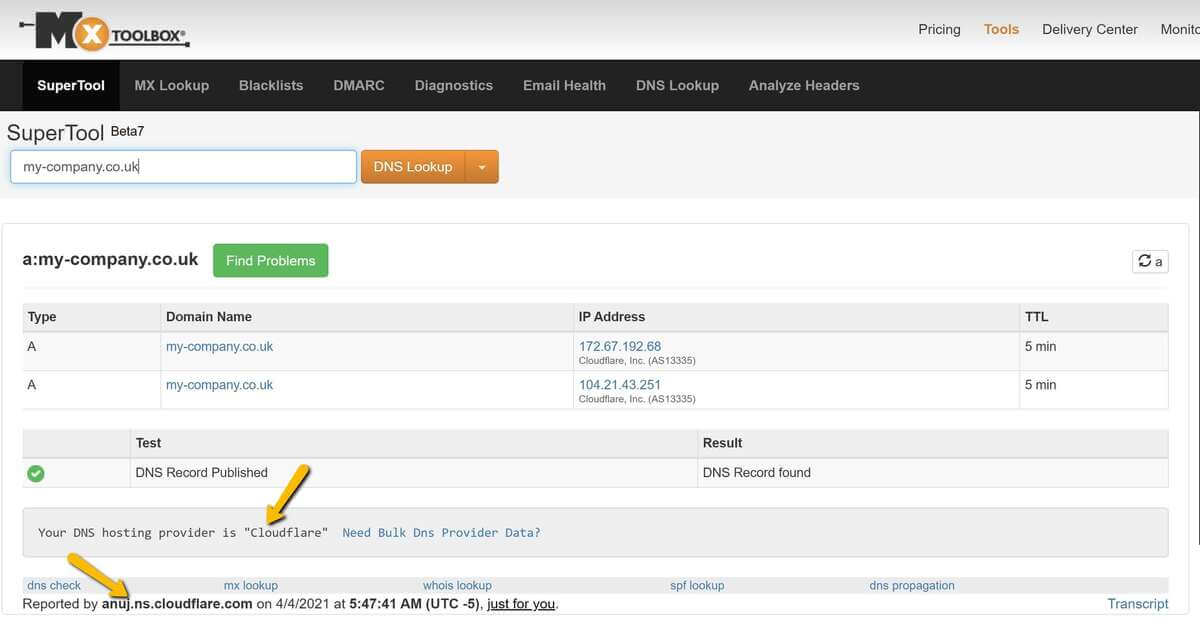
You can check if the changes were already applied using a DNS lookup site such as MXToolBox.
Choose DNS Lookup and provide your domain:
Now we are finished with GoDaddy, and we can go back to Cloudflare. Click on Done, check nameservers.
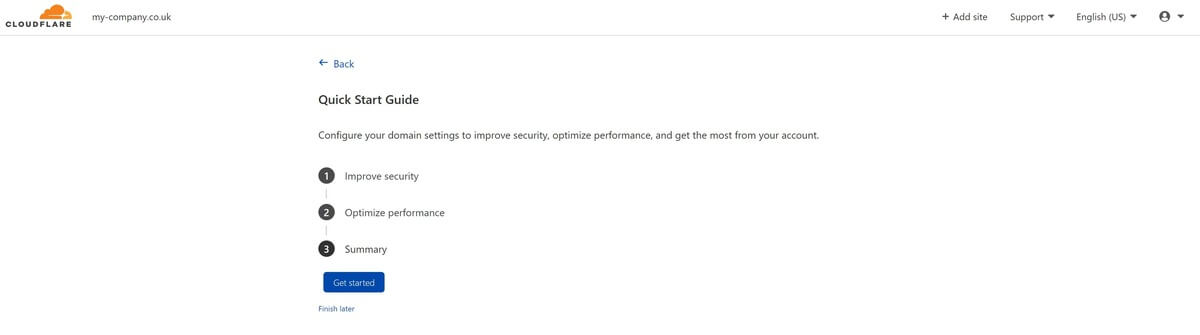
Click on Get started
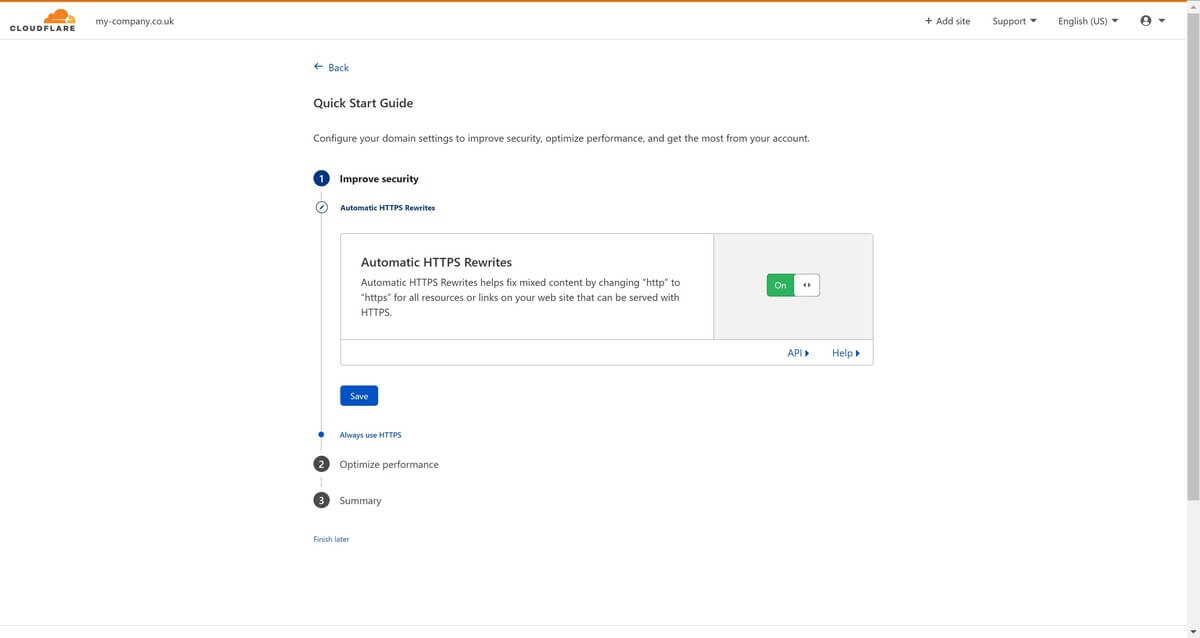
Confirm enabling Automatic HTTPS Rewrites:
On the next step, make sure Always Use HTTPS is enabled.
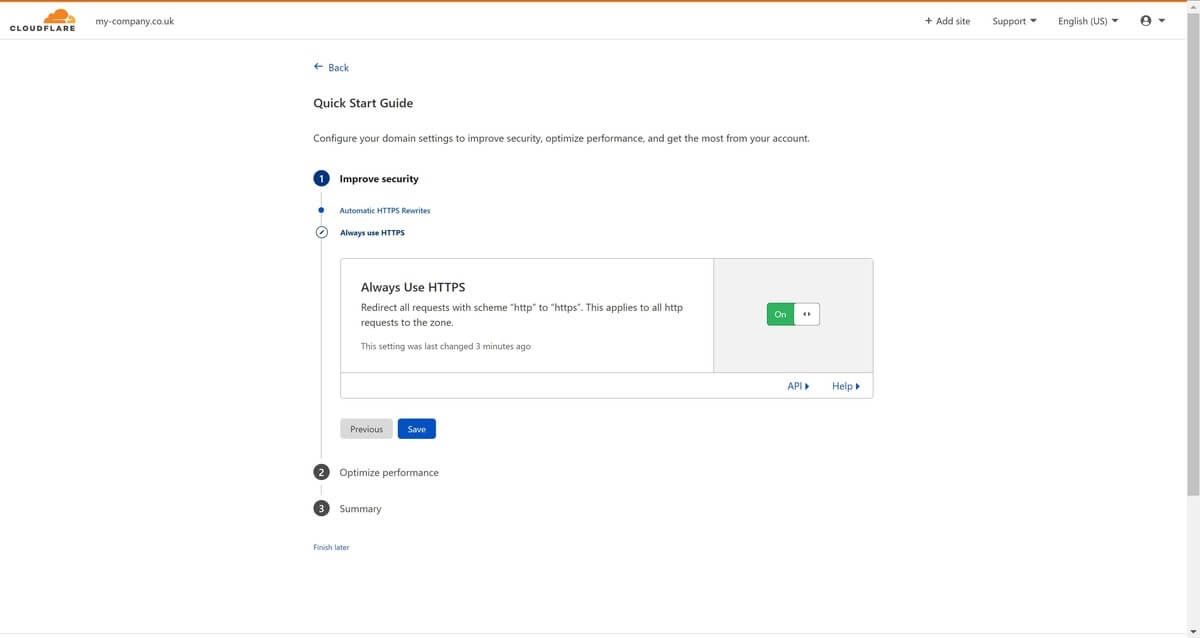
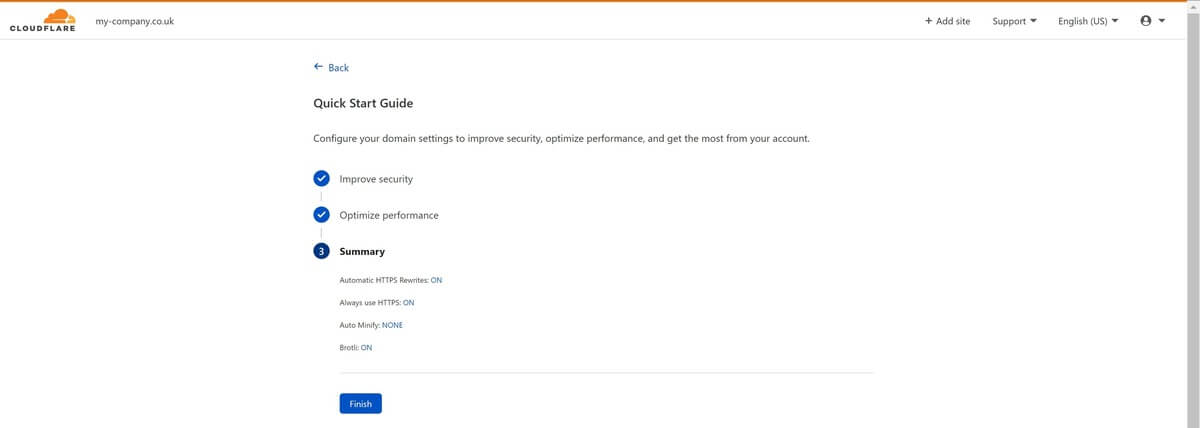
You may leave all other settings at default values.
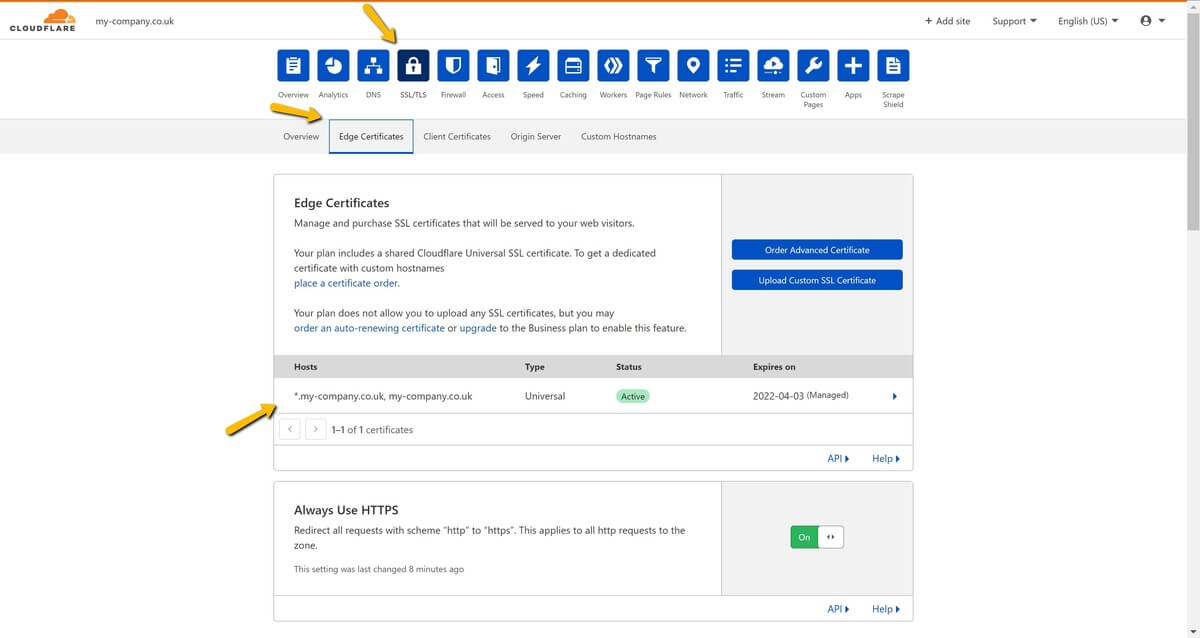
The last step is to check whether the edge certificate was created correctly. This can also take a while. But usually, it takes around 15 minutes.
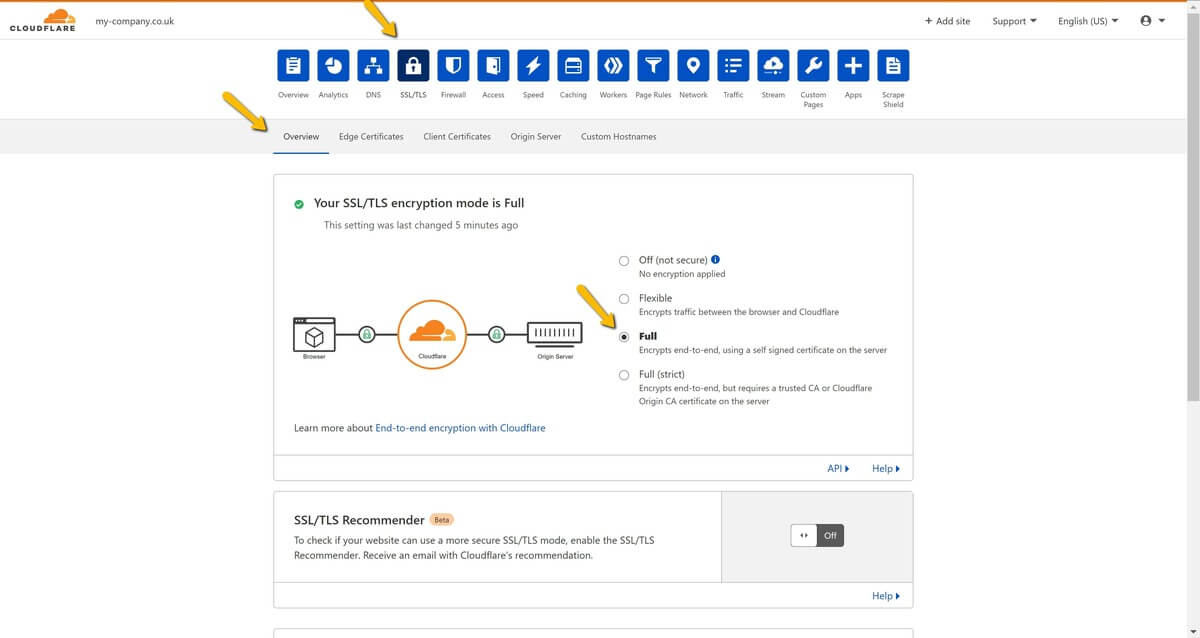
On the Overview tab, Change SSL to Full. Sometimes you need to change this setting several times. By refreshing the page you can see if it was changed to Full.
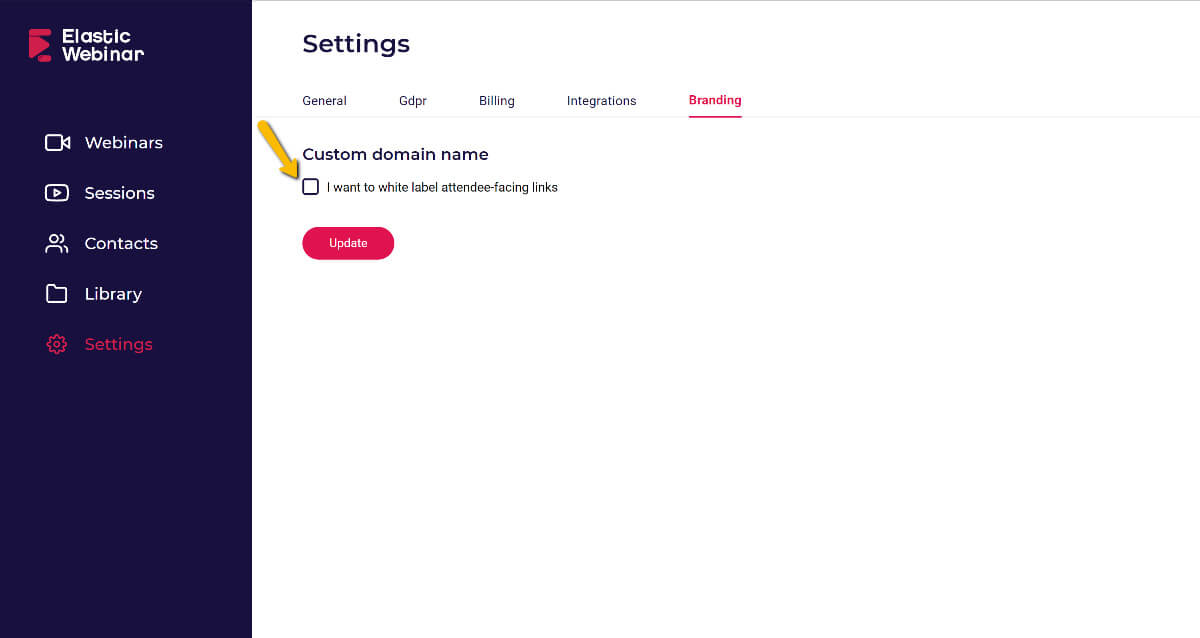
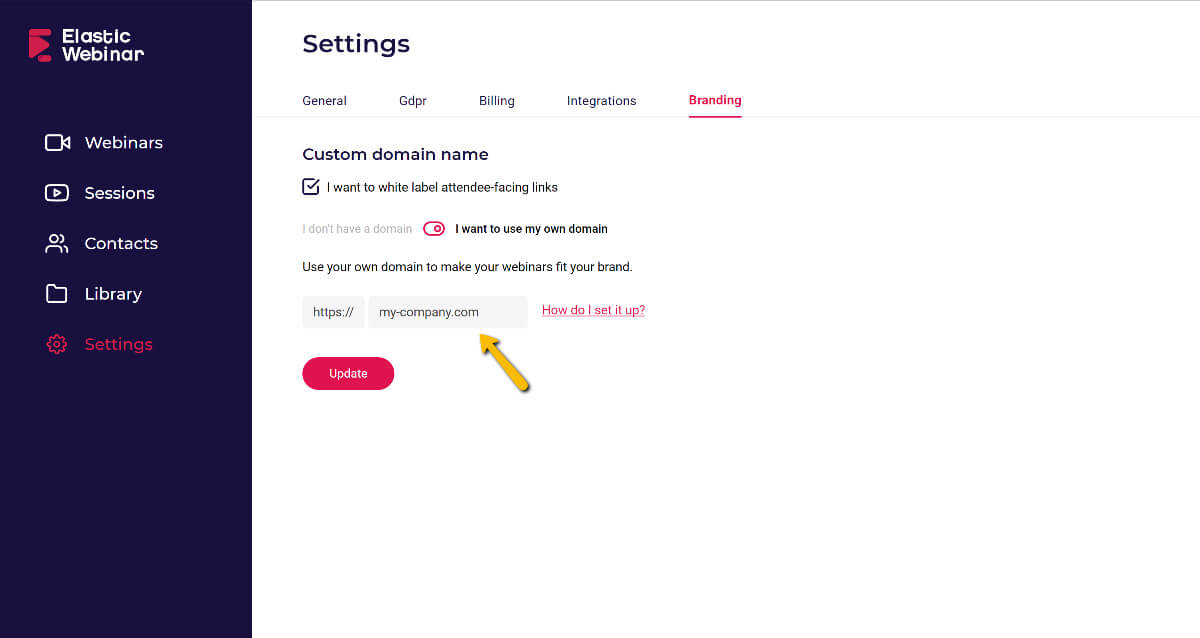
To connect your custom domain with ElasticWebinar, log in to the administration console and navigate to Settings -> Branding.
Click on I want to white label attendee-facing links.
Next, click on I want to use my own domain.
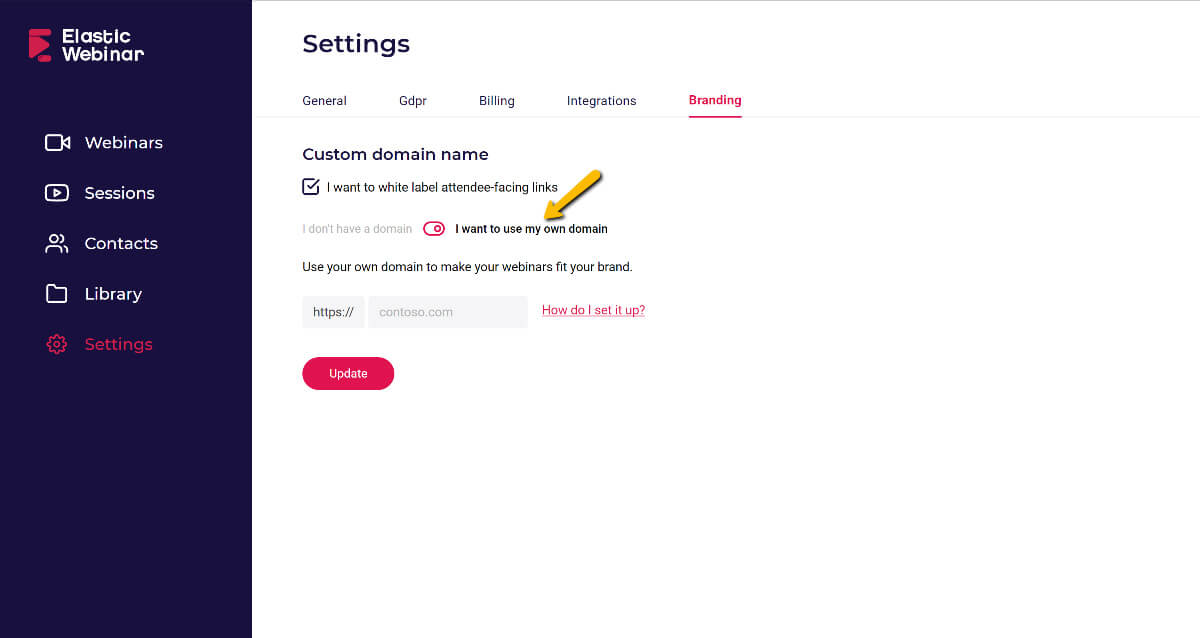
Type your domain (e.g. my-company.com) or subdomain into the field without the HTTPS prefix and confirm with the Update button.
Navigate to the webinars page and try to open the registration page for any webinar.

Congratulations 🎉. Your custom domain is now set correctly.
© ElasticWebinar 2024.
All Rights Reserved.
English